Citizen Developers, Power users and champions often using SharePoint lists to store their data. They can use Power Apps, and Power Automate within their Office 365 Business Basic, Standard, E1 and E3 license.
Because without restriction, when sharing the canvas app, they have permissions to the list and can change the data in the SharePoint GUI. Most of the time, it’s intended that the application users transform the data only via the canvas app.
How do we restrict application users to change data in a SharePoint list from the SharePoint GUI?
SharePoint sites have standard permissions groups (Members, Owners, Visitors) and levels (Full control, Design, Edit, Contribute, Read). With those, you can limit access to specific users or security groups. Let’s closely look at how we can use those to secure the SharePoint lists used in a Canvas App.
Create a new permission level.
Go to the “Advanced permissions settings” of the SharePoint site. When using the link before replace the [companyname] and [site-name] or on the SharePoint site settings, click “Site Permissions.”

In the new right panel, click “Advanced permissions settings”.

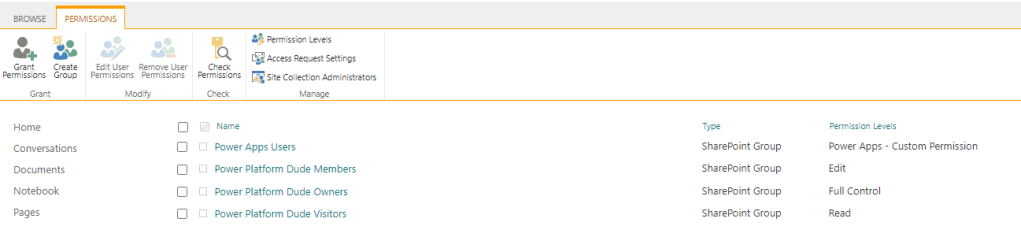
It will open a new window that gives an overview of the SharePoint security groups.
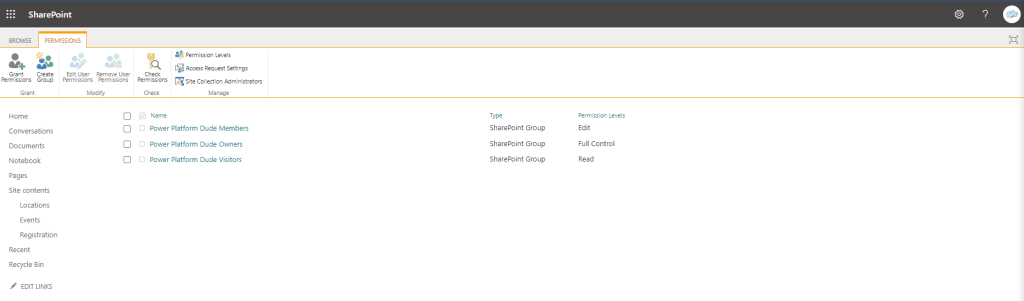
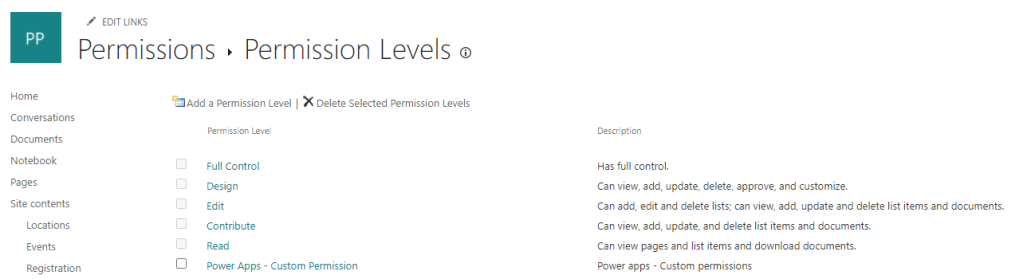
Click “Permission Levels”.
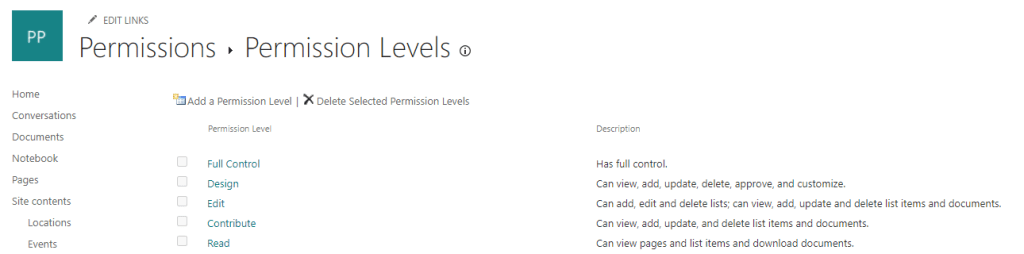
Click “Contribute”, and scroll down to the end of the page and click “Copy Permission Level.”
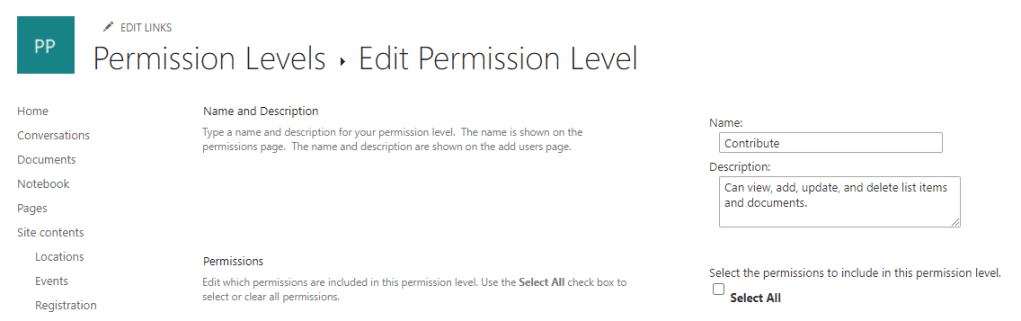
Enter the name and description of the new permission level.
Example: Power Apps – Custom Permission
Deselect under list permissions the following option “View Application Pages – View forms, views, and application pages. Enumerate lists.”
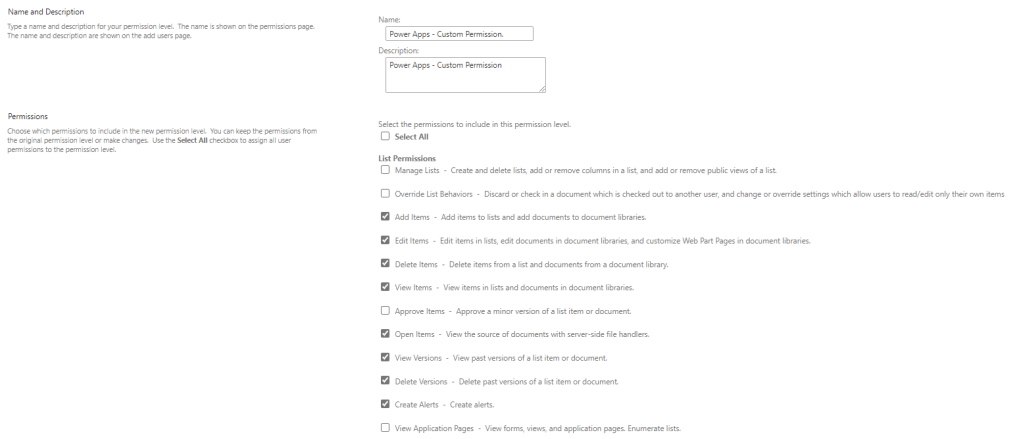
Click “Create” at the end of the page. The new permission level is visible in the list.
Create a new permission group and add a permission level.
Click “Create Group” and give a proper name and description. Give a Group owner and select the permission level created above. Click “Create”, the permission group is created and visible in the list.

Click on the group to add users or security groups.
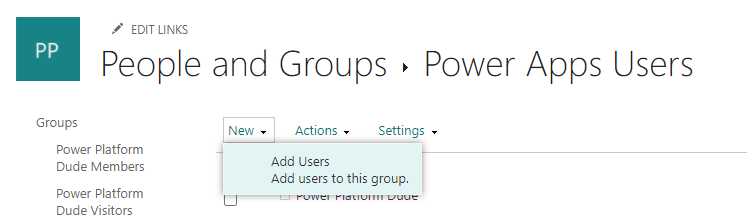
Click New and select “Add Users”
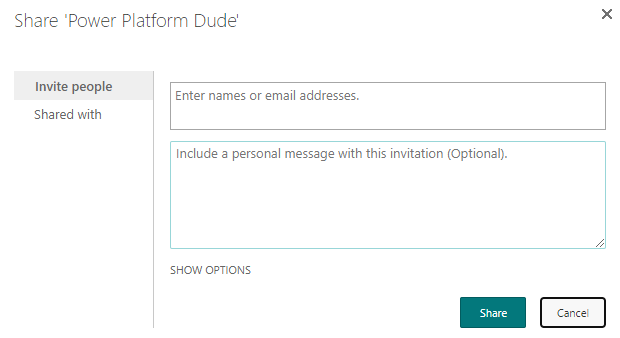
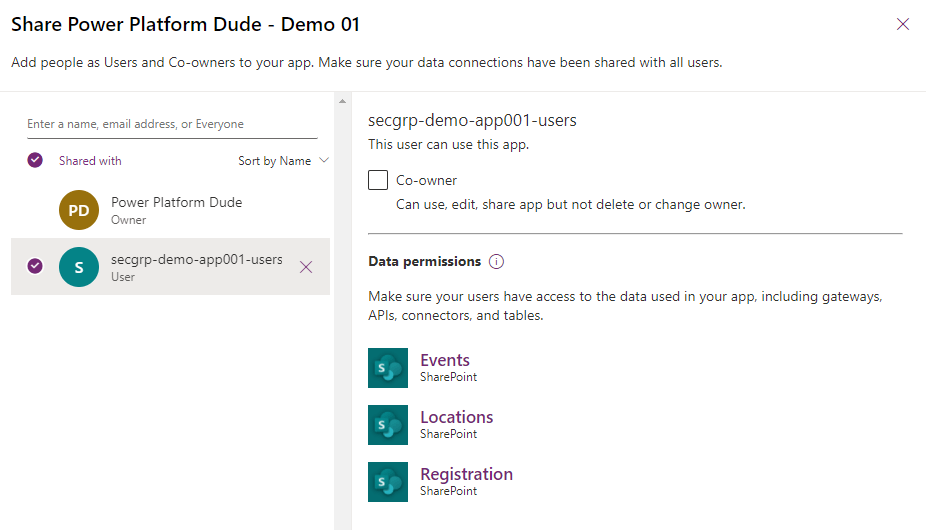
In this example, we are adding a security group to the SharePoint group.
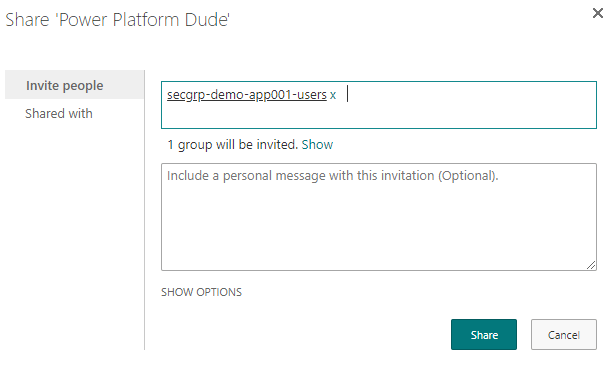
The users of this security group can access the data out of the SharePoint list but cannot edit the lists in the SharePoint GUI. I am using the same security group to share the application.
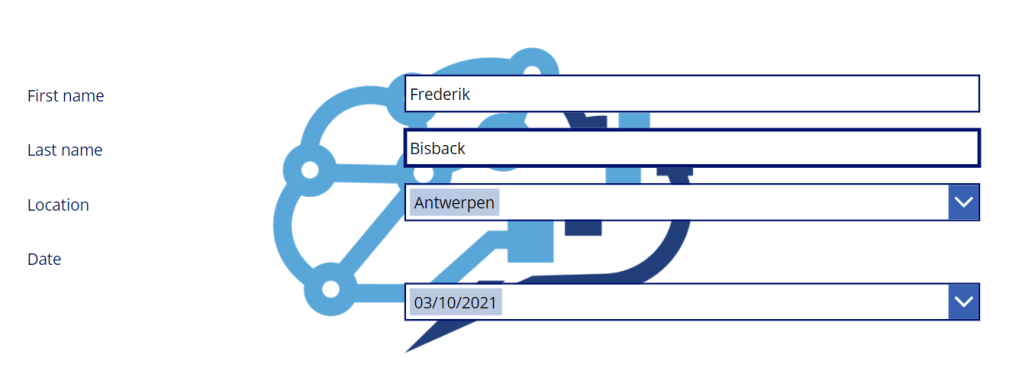
Testing the app and SharePoint lists access.
App data is visible.
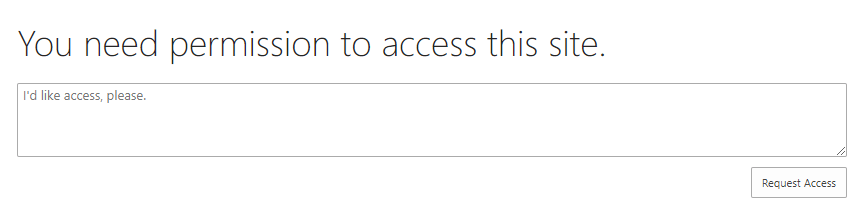
SharePoint lists are not visible.

I hope this how-to helps. Share and like as much as you want. Thanks!
